I finally managed to find some free time to take a look on Waveshare SIM7600E-H 4G HAT. I bought it to extend capabilities of my Raspberry Pi 4 model B single board computer.
Here, I want to give a short tutorial how to setup LTE WAN networking in Raspberry Pi SBC. I will describe how to make use of the network tooling in new Raspberry Pi OS which is based on recent Debian Bookworm release. At the end, I will present configuration of WAN connection sharing with other hosts in a LAN.
I struggled a bit with LTE modem configuration, but finally I managed to come up with the setup in three simple, fast steps.

Cellular networking
Hardware assembly Link to heading
I didn’t install Waveshare SIM7600E-H as a regular hat, but I used USB cable solely to connect the device with RPi board. SIM7600E-H 4G HAT is supplied together with two USB cables. One of them is quite long, so you can position hat in some distance from RPi board. Thanks to that you can put hat with antenna in convient place for better signal reception.
Ofcourse before start using the device, we also need to insert SIM card from your mobile operator and connect provided antenna to the “main” socket.
Quite important thing is to set UART JMP jumper in position A.
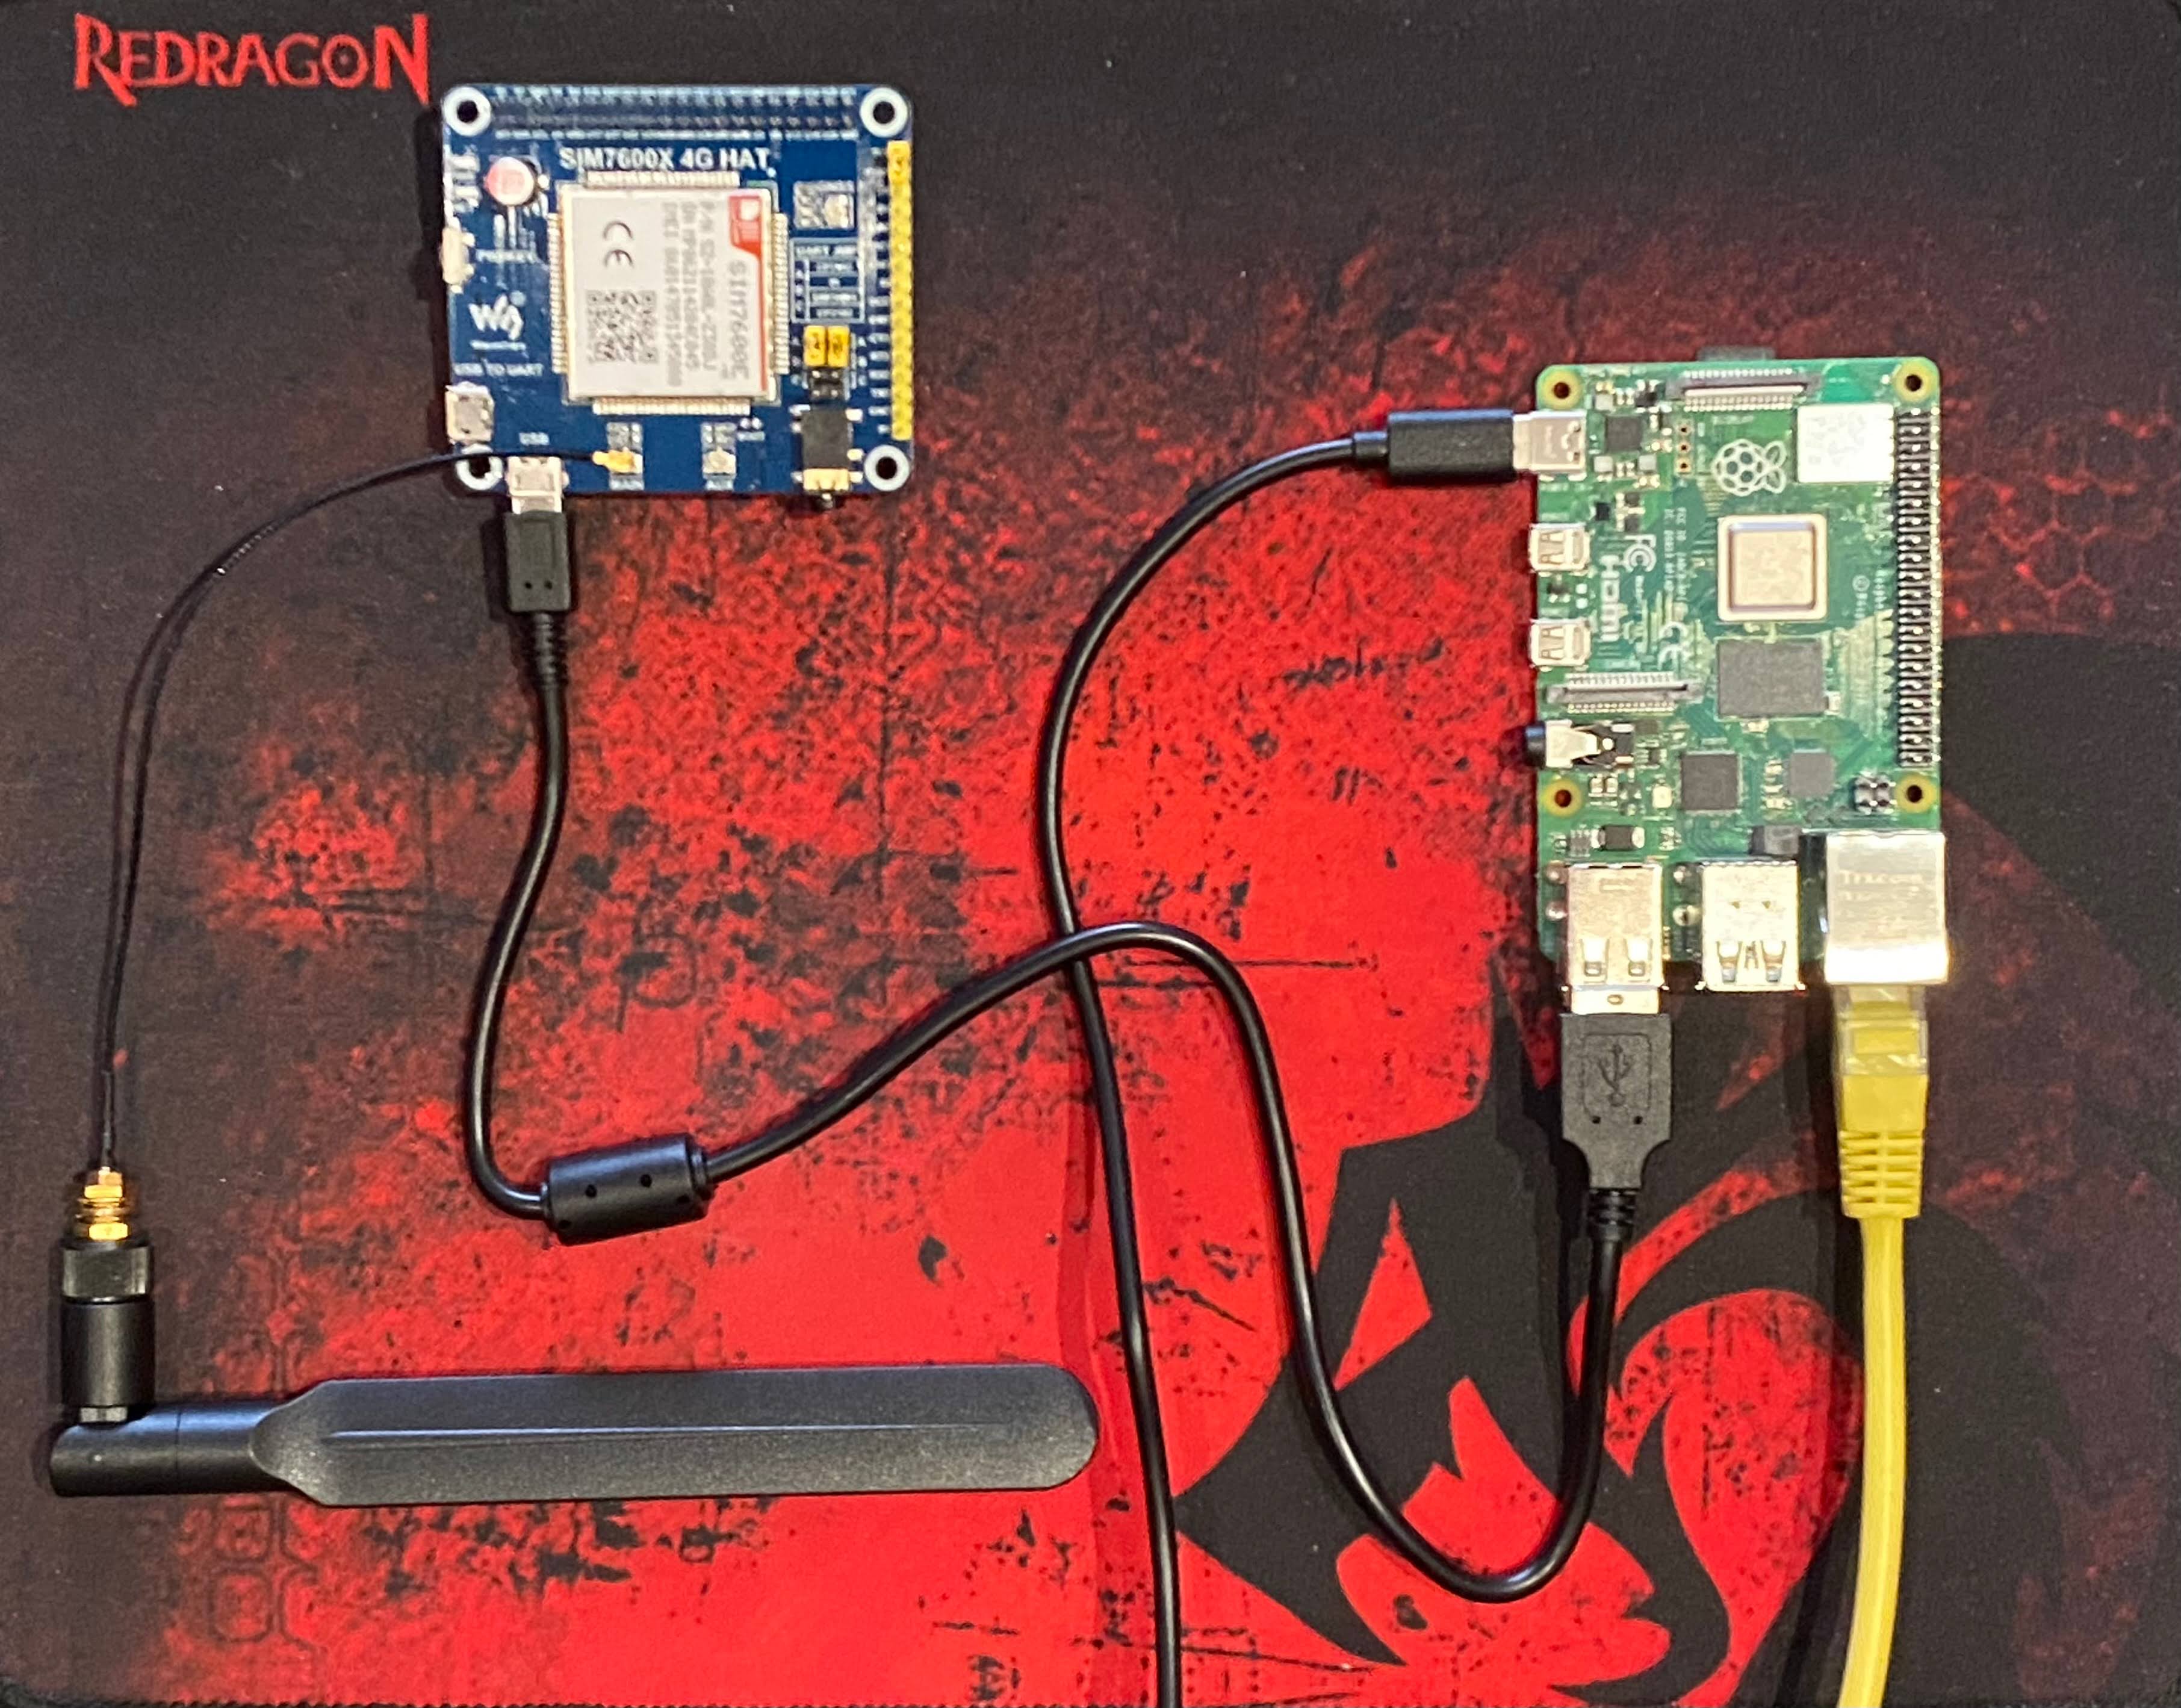
Assembled GSM kit
OS installation Link to heading
I chose official Raspberry Pi OS imager to install operation system on the board. Since I am using RPi as a server I picked Lite OS version. When I purchased my board only 32-bit Raspbian OS was available. Now I can fully leverage on 64-bit arm architecture of RPi 4B with Raspberry Pi OS. At the beginning, I installed Ununtu arm64 which was released before 64-bit version of Raspberry Pi OS.
Before writing OS image to a memory card, I edited the settings to set a hostname and enable SSH server with public key login. I had some difficulties with ED25519 key, so I stick to RSA. I haven’t have chance yet to explore the issue further.
Installing required packages Link to heading
First, let’s install neccessary tooling.
sudo apt install libqmi-utils udhcpc
QMI is a communication protocol for modems built on top of Qualcomm chips. Modem Manager can handle libqmi library calls for you.
Another tool - udhcpc is required to obtain WAN IP address from mobile operator via DHCP.
For seeting up a cellurar networking NetworkManager and ModemManager services will also be required in our setup. Although, they should be installed and enabled by default in the newest RPi OS. You can verify it with:
sudo systemctl status NetworkManager
sudo systemctl status ModemManager
Configuring modem connection and routing Link to heading
Debian Bookworm is equiped with several interesting console tools for network setup:
nmtui- NetworkManager terminal user interfacenmcli- NetworkManager command line interfacemmcli- ModemManager command line tool
Let’s start network configuration with cellurar networking. In order to establish mobile connection check the commands below.
List available modems:
mmcli -L
Print details of the first modem:
mmcli -m 0
Unlock SIM card with PIN number (replace xxxx with your PIN):
sudo mmcli -m 0 -i 0 --pin=xxxx
Enable modem:
sudo mmcli -m 0 -e
Start a new connection (please adhere you settings like APN name, IP type or authentication mode - check that with your mobile operator):
sudo mmcli -m 0 --simple-connect="apn=internet,ip-type=ipv4,allowed-auth=pap"
At this stage, the cellurar connection should be up. You can verify it with commands:
ip a
ping -I wwan0 8.8.8.8
As a next step we probably want to add a gsm connection profile in Network Manager:
sudo nmcli c add type gsm ifname '*' con-name 't-mobile' apn internet gsm.pin xxxx connection.autoconnect yes
Setting connection.autoconnect property will make the connection to start at the system boot.
The last, optional step is to enable routing, i.e. share the mobile connection with other hosts in the cable network.
It is quite simple. Just run sudo nmtui and find in termianl UI option to edit your wired connection. Switch mode from ‘auto’ to ‘shared’.
By default ‘shared’ mode will set static ip 10.72.0.1/24 for eth0 interface. It will also start DHCP server on that interface,
enable NAT and IP masquarade. You can change default IP by setting desired IP in address field.
Trobleshooting Link to heading
You may find below commands useful in diagnosing connectivity problems.
lsusb
lsusb -t
ip a
ping -I wwan0 8.8.8.8
mmcli -L
mmcli -m 0
mmcli -m 0 -b 0
mmcli -m 0 -b 1
For troubleshooting your modem you may want to install minicom AT terminal app.
sudo apt install minicom
Then you can connect to modem TTY port and issue AT commands (device name may be different):
sudo minicom /dev/ttyUSB2
Some handy AT commands can be found on Waveshare FAQ. You can also find there a description of different modem operating modes.
In my case I need to switch modem to RNDIS (9001) mode and change default APN name:
AT+CUSBPIDSWITCH=9001,1,1
AT+CGDCONT=1,"IP","internet","0.0.0.0",0,0
You can also use qmi directly and bypass ModemManager. Example diagnostic commands are:
sudo qmicli -d /dev/cdc-wdm0 -w
sudo qmicli -d /dev/cdc-wdm0 --dms-get-operating-mode
sudo qmicli -d /dev/cdc-wdm0 --nas-get-signal-strength
sudo qmicli -d /dev/cdc-wdm0 --nas-get-home-network